Renovations can be stressful for homeowners. They involve a lot of noise, a lot of mess, and a lot of cleanups. It’s always a lengthy and complicated process before you get the chance to enjoy the renovations. The final phase is the cleanup phase, and if you strategize properly, things will go quickly and smoothly. You’ll be loving your home’s or short-term rental property new look before you know it.
1. Try to Clean in Steps
It always helps to plan as you go. Cleaning up as the process is going on makes it easier for the renovations to continue. It will be less overwhelming to step back and look at the mess if you’ve slowly mitigated it throughout the renovation. If it’s too late to do that, there’s still a decent way to go about cleaning up without exacerbating the problem.
2. Move from The Back Forward
If your whole home was renovated, you probably have messes all over the place. Start with the messes furthest from the front door. While it might feel more tempting to clean up the entryway so guests aren’t greeted with a mess, the entryway is going to get dirty every time you move or track debris from the back of the house to the front. Conversely, you can’t walk through your front door and bring a trail of clean with you. Deal with the back room first and save the front room for last.
3. Move Large Debris to a Designated Spot
All the large debris from the demolition will need to be hauled away. Try to move it all to a central location and keep it contained. Then, you can call a company like 1300 Rubbish to come in and take it all away at once. You won’t forget anything, and hauling the debris out won’t create various trails of dust or scattered dirt if it’s all happening in the same location.
4. Start from the Top
Get rid of all the demolition dust that’s gathered towards the top of the room before you start working on anything else. Gravity will bring it all down to the ground, making it easier to get rid of. If you forget the top of the room (like crown moldings and high shelves) and wait until the end, you’re just going to set a bunch of debris loose on the floor. Always move top to bottom when cleaning.
5. Clean Surfaces Mid-Process
After you’ve dealt with the upper third of the room, deal with the middle third. Wipe down all the counters, glass, and mirrors. This will knock a little more debris onto the floors in the process of leaving the surfaces shiny, clean, and new. The best part is that you can simply toss disposable wipes on the ground, because you’re going to have to sweep later anyway.
6. Be Careful with Floors
Sweeping the floor and removing debris can scratch up the finishes of hardwood or tile. Always manually pick up larger or jagged pieces of debris, especially if there may be glass or concrete in the mix. If you’re too afraid to sweep, use a vacuum that can be lowered down for short pile carpet or wood. It will suction up the debris, rather than pushing it and potentially damaging your new flooring.
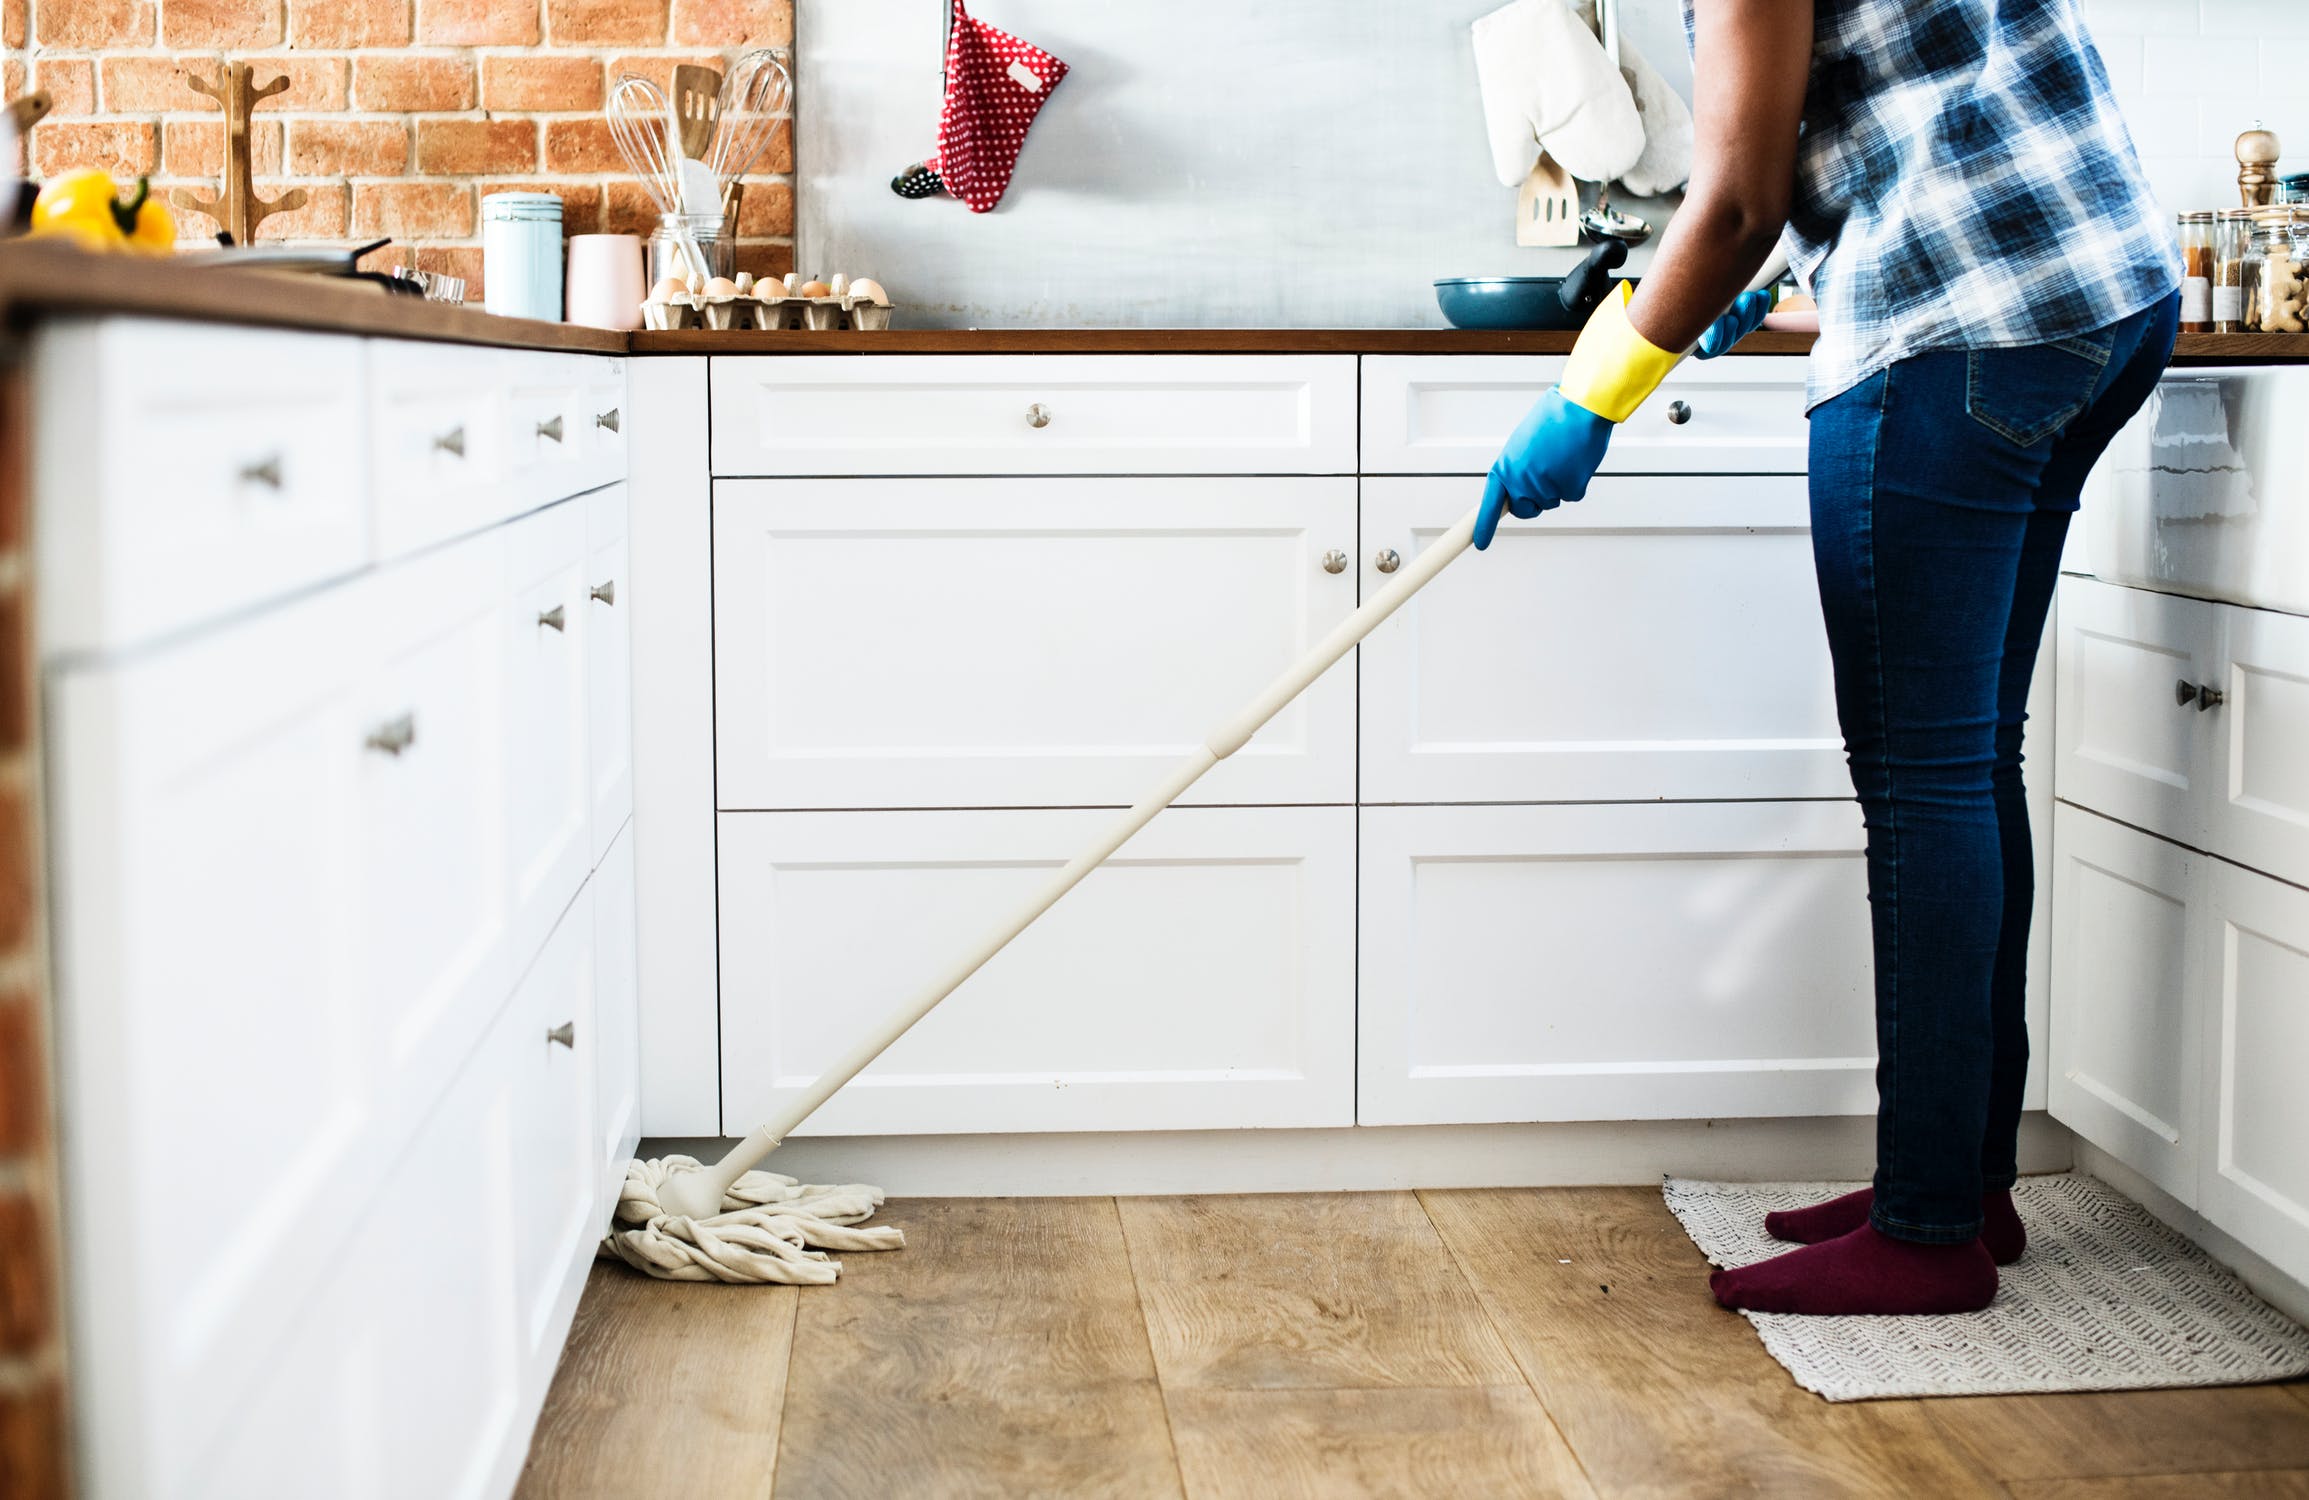
7. Sanitize Last
Everything is clean, it’s time to sanitize. Break out the mops and the rags and use whichever disinfectants you prefer to make the surfaces sanitary. When all the dirt is gone, you want to kill any bacteria that it may have left behind.
Once the cleaning is done, the chaos is over! You’re free to enjoy your new home and you’ll finally be able to see that all the stress of the renovation turned out to be worth it.
By Melanie Saunders